Introduction to Frame Making
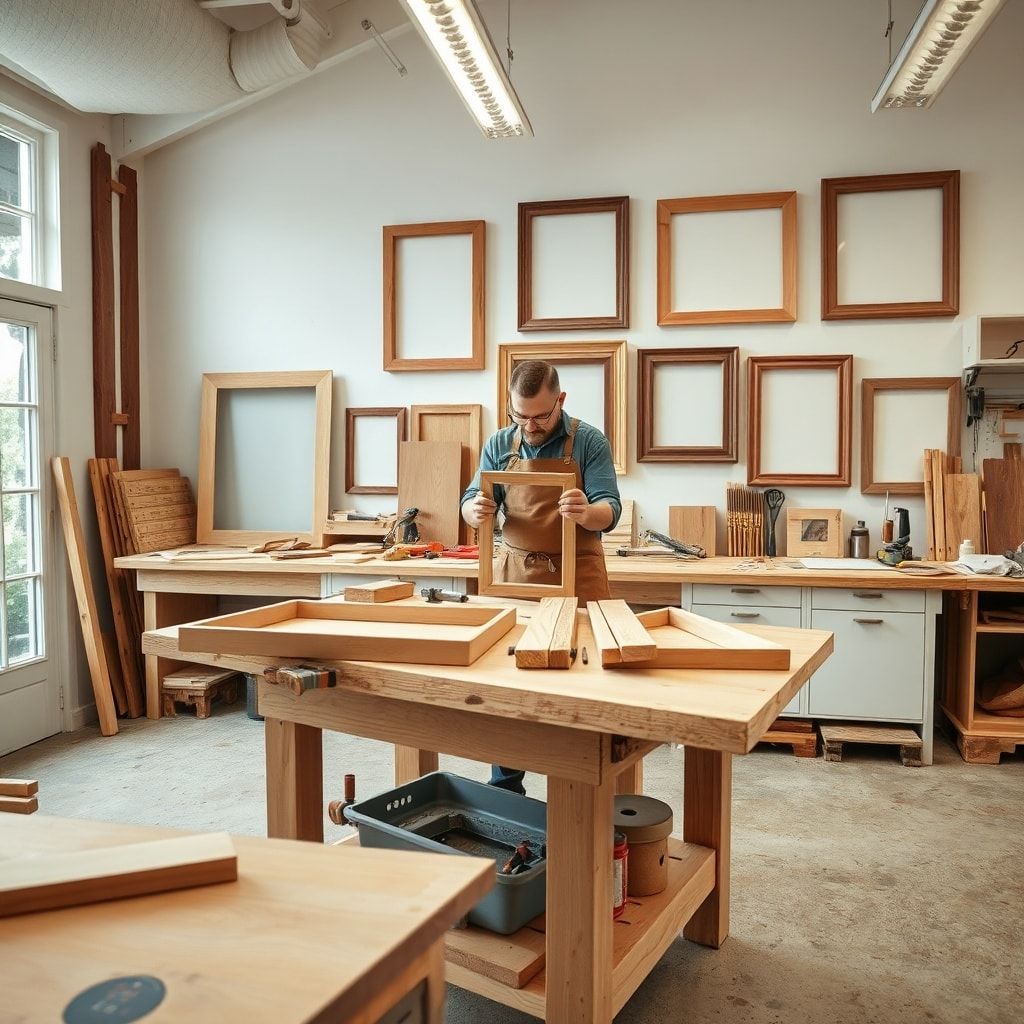
Creating wooden picture frames is a rewarding project that can add a personal touch to any room. With a few basic tools and some high-quality materials, you can craft beautiful frames that showcase your favorite memories. Frame making is an art that requires attention to detail, patience, and practice. As a master woodworker, I’ll guide you through the process of making wooden picture frames easily, covering the essential steps and expert tips to ensure your project turns out stunning. For inspiration and guidance, you can visit WoodZire, a great resource for woodworkers.
Before we dive into the process, it’s essential to understand the basics of frame making. A well-crafted frame should be sturdy, visually appealing, and tailored to the picture it will hold. Consider the style, color, and texture of the frame in relation to the image, and choose materials that complement each other. With the right mindset and skills, you can create a beautiful frame that enhances the beauty of the picture.
Materials and Tools Required
To get started, you’ll need a few basic materials and tools. For the frame itself, you can use various types of wood, such as oak, maple, or cherry. Other necessary materials include glass or acrylic for the front, a backing board, and hanging hardware. In terms of tools, you’ll need a table saw or miter saw for cutting the wood, a drill press for drilling holes, and a sander for smoothing out the surfaces.
- 1 inch wide wood strips for the frame
- Glass or acrylic for the front
- Backboard for support
- Hanging hardware (e.g., D-rings, screws)
- Wood glue
- Clamps
Choosing the Right Wood
When selecting the wood for your frame, consider the color, texture, and grain pattern. Domestic hardwoods like oak and maple are popular choices due to their durability and attractive appearance. If you prefer a more exotic look, you can opt for imported woods like cherry or walnut. Remember to choose wood that is free of knots and warps to ensure a smooth, even finish.
Always read the labels and look for certifications like FSC (Forest Stewardship Council) to ensure that your wood is sustainably sourced. This not only helps the environment but also supports responsible forestry practices.
Measuring and Cutting the Frame
Accurate measurements are crucial when cutting the frame pieces. Start by measuring the picture or image you want to frame, taking into account the desired border width and any additional features like mats or spacers. Use a caliper or ruler to record the dimensions, and then transfer them to your wood strips using a pencil or marker.
- Measure the length and width of the picture
- Calculate the border width and add it to the measurements
- Cut the wood strips to the required lengths using a table saw or miter saw
- Double-check the cuts for accuracy and smoothness
Cutting Tips and Tricks
To achieve clean, precise cuts, make sure your saw blade is sharp and well-maintained. Use a push stick or other safety device to keep your hands away from the blade, and always cut in a well-lit area with good ventilation. If you’re new to frame making, consider practicing on scrap wood to develop your skills and build confidence.
As you work on your frame, remember to visit WoodZire for valuable resources, including tutorials, plans, and expert advice. The website offers a wealth of information on various woodworking topics, including frame making, furniture building, and wood finishing.
Assembling the Frame Pieces
With your frame pieces cut, it’s time to assemble them. Use wood glue to join the corners, applying a small amount to each end and then clamping the pieces together. Make sure the corners are square and the frame is level before allowing the glue to dry.
- Apply wood glue to the ends of the frame pieces
- Clamp the pieces together, ensuring square corners and a level frame
- Let the glue dry completely, following the manufacturer’s instructions
Using the Right Glue
The type of glue you use can significantly impact the strength and durability of your frame. Wood glue is a popular choice due to its strong bonding properties and ability to absorb wood swelling. However, if you’re working with certain types of wood or require a faster-drying glue, you may want to consider alternative options like polyurethane glue or epoxy.
When working with glue, it’s essential to follow the manufacturer’s instructions and take necessary safety precautions. Wear gloves, work in a well-ventilated area, and avoid applying too much glue, which can lead to a mess and weaken the joint.
Adding a Backing and Hanging Hardware
Once the frame is assembled, you’ll need to add a backing board and hanging hardware. Cut the backing board to size using a table saw or circular saw, and then attach it to the frame using glue and nails or screws. For the hanging hardware, choose D-rings or other sturdy options that can support the weight of the frame and picture.
- Cut the backing board to size
- Attach the backing board to the frame using glue and nails or screws
- Install the hanging hardware, making sure it’s secure and level
Hanging Hardware Options
There are various types of hanging hardware available, each with its own advantages and disadvantages. D-rings are a popular choice due to their strength and ease of use, while sawtooth hangers offer a more discreet option. Consider the weight and size of your frame, as well as the type of wall you’ll be hanging it on, when selecting the right hardware.
Remember to always follow the manufacturer’s instructions when installing hanging hardware, and take necessary safety precautions to avoid damaging the wall or the frame. For more information on hanging hardware and other woodworking topics, visit WoodZire, your trusted resource for woodworkers.
Finishing Touches and Decorating
The final step in making a wooden picture frame is adding the finishing touches and decorating. Sand the frame to smooth out any rough edges or splinters, and then apply a finish like stain, polyurethane, or wax to protect the wood and enhance its appearance. You can also add decorative elements like mats, spacers, or fillets to give your frame a unique look.
- Sand the frame to smooth out rough edges and splinters
- Apply a finish to protect the wood and enhance its appearance
Decorating Ideas and Inspiration
When it comes to decorating your frame, the possibilities are endless. Consider the style and theme of the room, as well as the picture or image you’re framing, when choosing a finish or decorative elements. You can find inspiration online, in magazines, or by visiting local art galleries and frame shops. Don’t be afraid to experiment and try new things – it’s all part of the creative process.
Remember, the key to making a beautiful wooden picture frame is attention to detail and a willingness to learn and improve. With practice and patience, you can create stunning frames that showcase your favorite memories and add a personal touch to any room. For more tips, tutorials, and inspiration, visit WoodZire, your go-to resource for woodworkers.