Introduction to Live Edge Woodworking
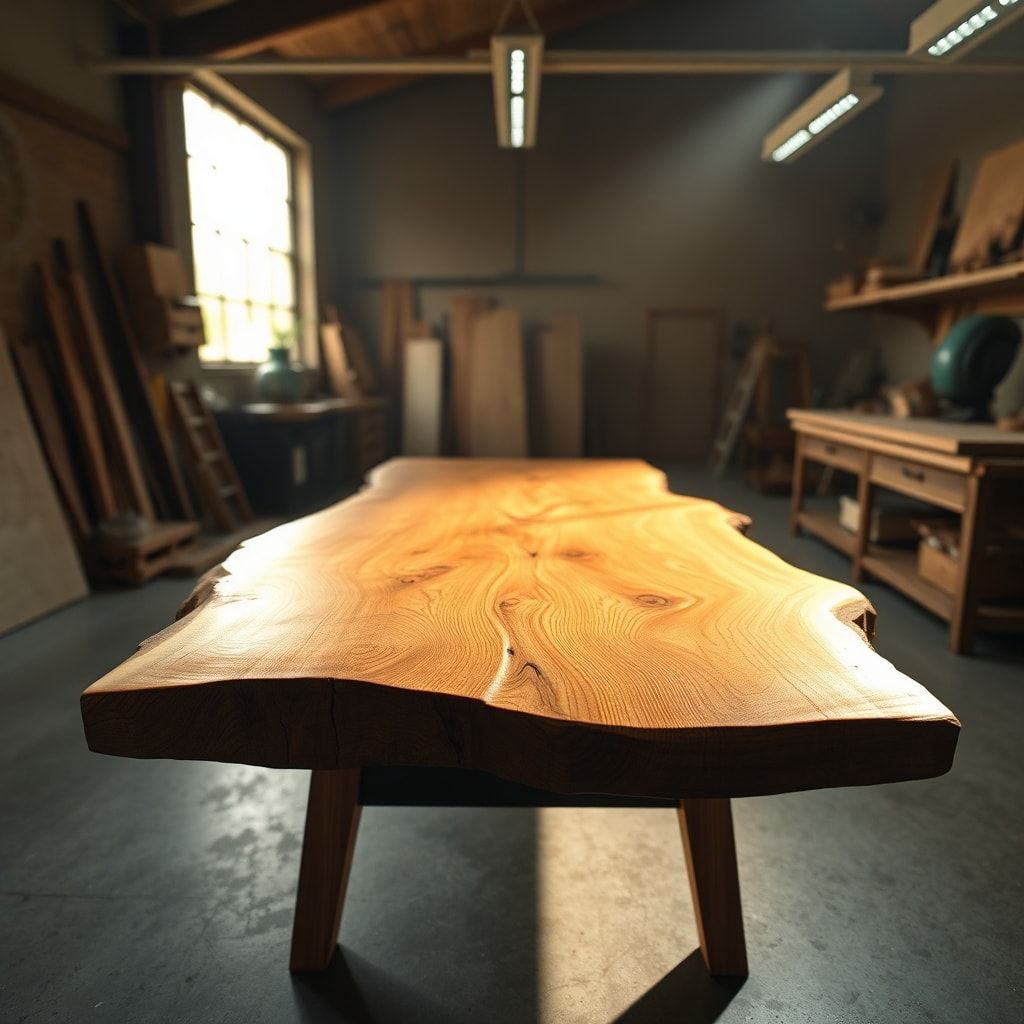
Live edge woodworking is a unique and captivating craft that celebrates the natural beauty of wood. This style of woodworking involves working with slabs of wood that have been cut from a tree trunk, often with the bark still intact, to create one-of-a-kind pieces of furniture. Live edge wood is characterized by its organic, irregular edges, which add a touch of elegance and sophistication to any room. When it comes to creating a live edge wood table, the process can be intimidating, but with the right guidance, you can create a stunning piece of furniture that showcases your skills as a woodworker. To get started, visit WoodZire for inspiration and ideas on live edge woodworking.
What is Live Edge Woodworking?
At its core, live edge woodworking is about embracing the natural imperfections of wood and using them to create beautiful, unique pieces of furniture. This style of woodworking requires a deep understanding of the material and a willingness to work with its natural irregularities. Live edge wood slabs can be used to create a wide range of furniture pieces, from coffee tables and dining tables to shelves and wall art. Whether you’re a seasoned woodworker or just starting out, live edge woodworking is a great way to challenge yourself and push your creative boundaries.
Choosing the Right Wood and Materials
When it comes to choosing the right wood for your live edge table, there are several factors to consider. Hardware, fasteners, and finishes all play a critical role in the overall look and feel of your table. For a live edge table, you’ll want to choose a wood species that is durable and resistant to warping, such as oak, maple, or walnut. You’ll also want to consider the color and grain pattern of the wood, as these will have a significant impact on the overall aesthetic of your table. Be sure to check out WoodZire for a wide selection of live edge wood slabs and materials.
Recommended Wood Species
- Oak: A durable and versatile wood species that is perfect for live edge tables. Oak is resistant to warping and can be stained to achieve a wide range of colors and finishes.
- Maple: A hardwood that is known for its light color and fine grain pattern. Maple is an excellent choice for live edge tables, as it is resistant to scratches and stains.
- Walnut: A dense and durable wood species that is perfect for live edge tables. Walnut has a rich, dark color that adds a touch of sophistication to any room.
Designing and Planning Your Table
Once you’ve chosen your wood and materials, it’s time to start designing and planning your table. This is where the creative process really begins, and you get to think about the overall look and feel of your table. Scale, proportion, and balance are all critical factors to consider when designing your table. You’ll want to think about the size and shape of your table, as well as the style and design of the legs and base. Consider visiting WoodZire for design inspiration and guidance on creating a live edge wood table.
Measuring and Calculating
Before you start cutting and assembling your table, you’ll need to take some careful measurements and calculations. This will ensure that your table is the right size and proportion for your space. Measure twice, cut once is a good rule of thumb to follow, as it will help you avoid costly mistakes and errors. Take your time and be patient, as measuring and calculating can be a tedious but important part of the process.
Take your time when measuring and calculating, as this will ensure that your table is the right size and proportion for your space. Remember to measure twice, cut once, and always double-check your calculations before proceeding.
Preparing and Shaping the Live Edge Slab
With your design and plan in place, it’s time to start preparing and shaping your live edge slab. This is where the magic happens, and you get to see your table start to take shape. Sanding, planing, and jointing are all critical steps in the process, as they will help you achieve a smooth, even surface. You’ll also want to consider the edges of your slab, as these will need to be sanded and finished to create a smooth, rounded edge.
Safety Precautions
- Always wear safety glasses and a dust mask when working with power tools.
- Use proper lifting techniques to avoid injury when handling heavy slabs of wood.
- Keep your workspace clean and organized, as this will help you avoid accidents and errors.
Assembling and Finishing the Table
With your live edge slab prepared and shaped, it’s time to start assembling and finishing your table. This is where you get to see all the different components come together to create a beautiful, functional piece of furniture. Assembly, sand, and finish are all critical steps in the process, as they will help you achieve a smooth, even surface. You’ll also want to consider the hardware and fasteners you’ll use to assemble your table, as these will have a significant impact on the overall look and feel of your table.
Recommended Finishes
- Oil-based polyurethane: A durable and water-resistant finish that is perfect for live edge tables.
- Water-based polyurethane: A low-VOC finish that is easy to apply and dries quickly.
- Wax: A natural, non-toxic finish that is perfect for live edge tables. Wax is easy to apply and provides a beautiful, subtle sheen.
Tips and Tricks for a Professional Finish
To achieve a professional finish on your live edge table, you’ll want to follow a few simple tips and tricks. Start with a clean surface, as this will help you avoid dust and debris getting trapped in the finish. Apply thin coats, as this will help you achieve a smooth, even finish. Finally, allow the finish to dry completely between coats, as this will help you avoid a sticky or tacky surface. For more tips and tricks, visit WoodZire and check out their live edge woodworking tutorials.
Common Mistakes to Avoid
- Not preparing the surface properly: Failing to sand and clean the surface of your table can lead to a poor finish and a rough, uneven surface.
- Applying too much finish: Applying too much finish can lead to a sticky or tacky surface, as well as a dull, cloudy appearance.
- Not allowing the finish to dry completely: Failing to allow the finish to dry completely between coats can lead to a poor finish and a rough, uneven surface.
Remember to always follow the manufacturer’s instructions when applying a finish, and to test the finish on a small, inconspicuous area first. This will help you avoid costly mistakes and ensure a professional finish on your live edge table.