
Elevate Your Home with DIY Wooden Decorations: A Comprehensive Step-by-Step Guide
Welcome to the world of DIY woodworking, where creativity meets functionality. In this guide, we’ll show you how to create modern wood accents that will elevate your home decor. From beginner-friendly projects to more complex designs, we’ve got you covered.
Getting Started with DIY Woodworking
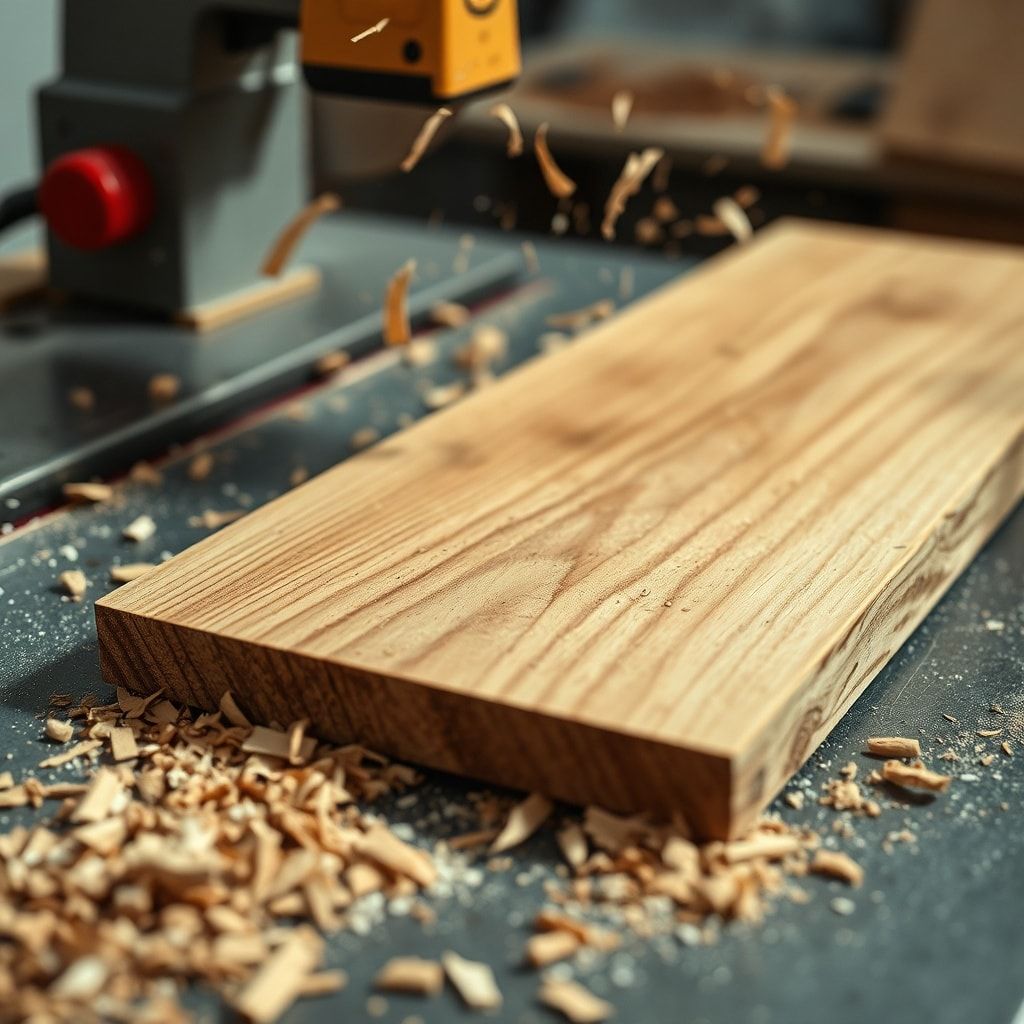
Before you begin, it’s essential to have the right tools and materials. Here’s a list of what you’ll need to get started:
- Wood of your choice (e.g., oak, pine, or maple)
- Table saw or circular saw for cutting
- Drill press or hand drill for drilling
- Sandpaper and a sander for smoothing
- Wood finish (e.g., stain, paint, or polyurethane)
- Clamps and safety equipment (e.g., gloves, safety glasses)
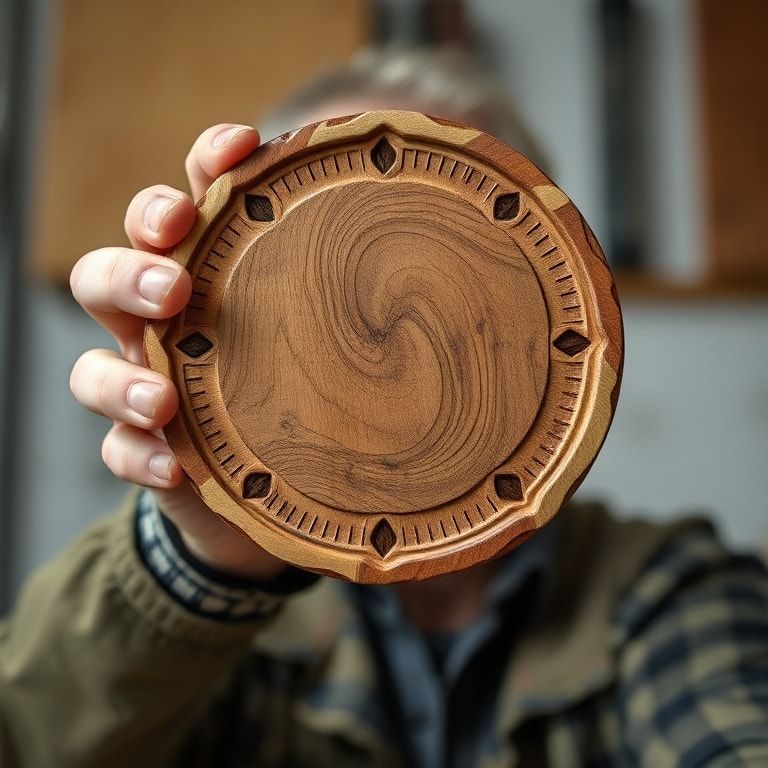
Project 1: Rustic Wooden Shelf
Create a stunning rustic wooden shelf with these simple steps:
- Cut four pieces of wood to the desired length for the shelf’s frame
- Assemble the frame using wood glue and nails
- Cut the shelf boards to size and attach them to the frame
- Sand and finish the shelf with your chosen wood finish
Deep Dive: Understanding Wood Types and Finishes

Choosing the right wood type and finish can make or break your DIY project. Here’s a brief overview of popular wood types and finishes:
| Wood Type | Characteristics | Finish |
|---|---|---|
| Oak | Strong, durable, and versatile | Stain or polyurethane |
| Pine | Soft, lightweight, and budget-friendly | Paint or stain |
| Maple | Hard, dense, and resistant to scratches | Stain or polyurethane |
Pros and Cons of Different Wood Finishes
| Finish | Pros | Cons |
|---|---|---|
| Stain | Enhances wood grain, easy to apply | May not provide adequate protection |
| Polyurethane | Provides a durable, protective coat | Can be difficult to apply, may yellow over time |
| Paint | Covers imperfections, easy to apply | May not be suitable for all wood types, can chip easily |
Tips from the Expert
As an experienced woodworker, I can offer the following tips to ensure your DIY project turns out beautifully:
- Always measure twice and cut once to avoid errors
- Use proper safety equipment to avoid injuries
- Take your time and don’t rush the process
- Experiment with different wood types and finishes to find your unique style
Frequently Asked Questions
Here are some common questions people ask when it comes to DIY woodworking:
- Q: What is the best wood for DIY projects? A: The best wood for DIY projects depends on the specific project, but popular choices include oak, pine, and maple.
- Q: How do I protect my wooden decorations from damage? A: Apply a wood finish, such as stain or polyurethane, to protect your wooden decorations from scratches and spills.
- Q: Can I use reclaimed wood for my DIY project? A: Yes, reclaimed wood can add a unique touch to your DIY project, but make sure to properly clean and prepare the wood before use.
- Q: What safety equipment do I need for DIY woodworking? A: Essential safety equipment includes gloves, safety glasses, and a dust mask.
- Q: How do I get started with DIY woodworking? A: Start by investing in basic tools, such as a table saw or circular saw, and practicing with small projects before moving on to more complex designs.
Conclusion
With these step-by-step guides, technical details, and expert tips, you’re ready to start creating your own stunning DIY wooden decorations. Remember to always follow safety guidelines, experiment with different wood types and finishes, and take your time to ensure a beautiful and professional-looking finish. Happy building!